As pet owners, we know how important it is to maintain a clean and hygienic living space for our furry companions. One area that requires regular attention is our dog’s crate, which serves as their safe haven and sleeping area. It can be a den of loose fur, dirt, and a bathroom for pups not fully potty-trained.
So, what is the best way to clean a dog crate?
We recommend deep cleaning the crate every two to four weeks and spot cleaning as soon as accidents occur. Disinfect it afterwards, as merely washing it with soapy water does not kill microbes. Thoroughly rinsing the crate is also crucial to keeping your puppy from ingesting cleaning products and disinfectants, especially if it likes to lick the crate.
Cleaning your dog’s crates safeguards your furry friend’s health and provides a pleasant environment for you and your pet. In this article, we’ll explore the best practices for cleaning puppy crates and dealing with specific challenges that may arise during the process.
Choosing The Right Cleaning Agents

Typically, choosing the right cleaning agents is as easy as choosing homemade cleaning products that are safe for your pet and effective in removing dirt, grime, and bacteria. However, you might have to buy specialized cleaning solutions.
Avoid harsh chemicals that may harm your pooch or leave toxic residues in the crate.
Whichever option you choose, rinse the crate completely to remove any cleaning agent residue to avoid causing stomach upset. Here are some other vital tips to remember when choosing the right cleaning agent for your dog’s crate:
#1. For pet stains and persistent odors, use enzymatic cleaners that effectively break down odor-causing organic matter in the waste.
#2. Avoid ammonia-based cleaning agents due to their urine-like odor, which invites the dog to pee in the crate. Chlorine-based bleaches may release toxic fumes that affect the pet and the pet owner.
#3. Cleaning products with strong fragrances like essential oils can be repugnant to dogs. Its sense of smell has over 300 million olfactory receptors compared to about 6 million in humans; therefore, while some cleaners may have a moderate odor to a pet owner, they can be unbearable to your pooch.
#4. Do not mix hydrogen peroxide and vinegar (which contains acetic acid), as the two form peracetic acid. This corrosive organic acid can irritate the eyes, skin, nose, and throat when inhaled. You also risk corroding or discoloring your dog’s crater.
#5. Do not mix ammonia-based cleaning products with bleach, which produces toxic gas for humans and pets.
Typically, you need a cleaner that is:
- Easy to use and rinse (leaves no residue)
- Tough on stains
- Kills all odors
- Safe and non-toxic
- Reasonably priced
Consider these options:
Vinegar: As a natural and safe cleaner, vinegar can be diluted with water to clean and deodorize the crate effectively. Its acidic properties help break down stains and eliminate odors without posing any health risks to your furry friend.
Mix one part white vinegar and one part water in a spray bottle. Apply a liberal amount to the crate’s internal walls, roof, floor, and ceiling, both sides of the door, hinges, latches, and other hidden areas of the crate. Remove the lower tray and spray it separately.
Let it sit for at least 10 minutes, then scrub the crate with a stiff brush. Rinse the crate with clean water to remove excess vinegar.
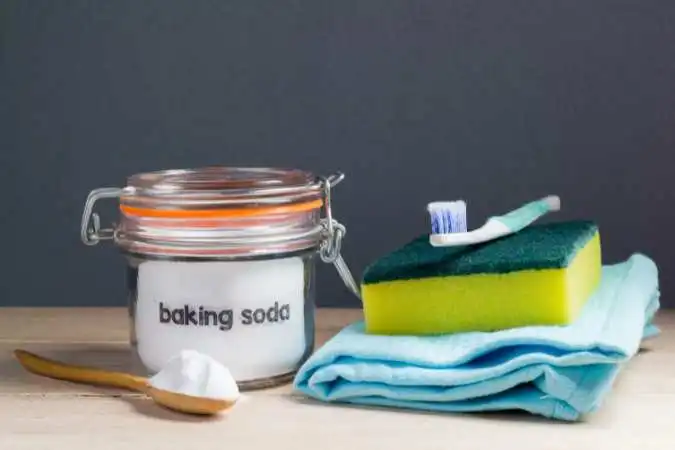
Baking Soda: Sprinkle baking soda on the internal surfaces, including the internal walls, roof, floor, and ceiling, both sides of the door, hinges, latches, and other hidden areas of the crate. Remove the lower tray and apply baking soda to it separately.
Allow the baking soda to sit on the crate for at least 10 minutes or a few hours to absorb the foul smells from the crate. It is a good idea to sprinkle a little bit more later before you vacuum it up.
Baking soda is safe for use around puppies. However, it is best applied after cleaning to deodorize the crate and keep it fresh.
Bleach: The Humane Society and the ASPCA recognize bleach as a safe disinfectant that can be used to clean a dog’s crate, provided it is diluted appropriately, rinsed well, and allowed to air dry the crate completely before allowing your K9 friend back inside.
Whatever you do, do not mix bleach with other cleaning products. Mix one part bleach and 32 parts water in a spray bottle and apply it to the soiled areas, including the internal walls, roof, floor, ceiling, and both sides of the door.
Allow the bleach to dwell on the crate’s surfaces for at least 10 minutes before rinsing it thoroughly. Then, air-dry the crate completely before allowing the pet inside.
When cleaning non-porous surfaces like the crate or canine toys, you can wipe them thoroughly with Clorox wipes (bleach) and ensure they dry completely before your dog uses them again.
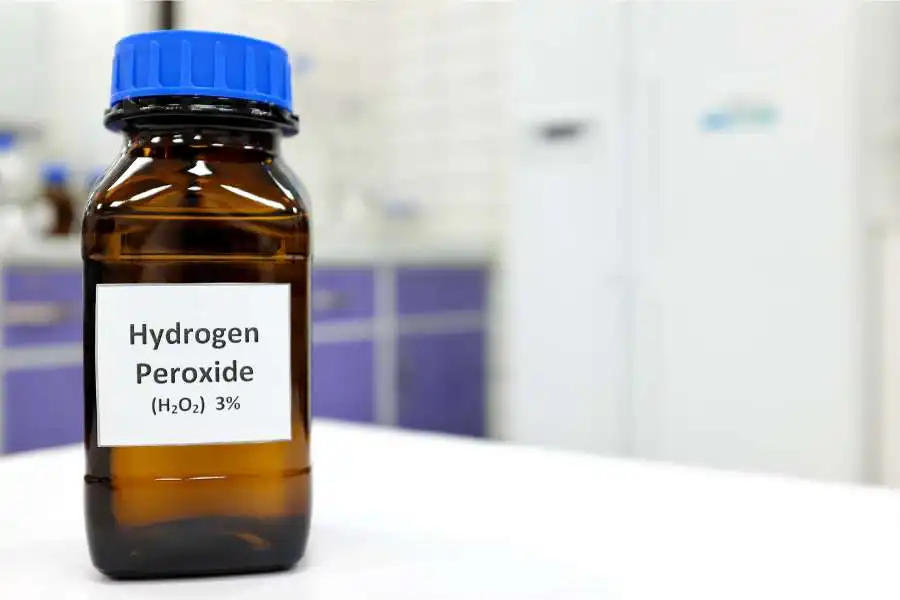
Hydrogen Peroxide: Mix one cup of hydrogen peroxide and one part water in a glass spray bottle. If you prepare a large potion of this cleaning solution to use several times, remember, hydrogen peroxide and water solutions must be stored in dark-colored glass bottles to preserve their strength.
Apply the hydrogen peroxide solution to the crate and allow it to sit for at least ten minutes to break down the stains and absorb the odors.
Dishwashing Soap Solution: Mix one part unscented dish soap and ten parts warm water in a spray bottle. Spray the cleaning solution on the crate, including the internal walls, roof, floor, and ceiling, on both sides of the door, hinges, latches, and other hidden crate areas. Allow the soap solution to dwell on the crate for at least 10 minutes.
Use a brush to remove stains stuck on the sides and floor of the crate. Rinse with water to remove the soap, and let the crate dry completely.
Enzymatic Cleaners: Enzyme-based cleaners provide the most reliable way of eliminating pet odors as they disintegrate organic compounds that produce foul odors. Ensure you use enzymatic cleaners according to the manufacturer’s instructions.
Pet-safe Disinfectants: You may have removed the apparent dirt, waste, hair, or other messes from your puppy’s crate, but you still need to kill disease-causing microorganisms. Nonetheless, disinfectants are best applied to pre-cleaned surfaces.
Using a pet-safe disinfectant is crucial when dealing with a used dog crate or suspected contamination. Look for products explicitly designed for pet spaces and effective against a wide range of bacteria and viruses.
Remember to rinse all types of crates to remove any soapy residue and disinfect them to eliminate the microbes. The disinfectant must be rinsed away thoroughly to prevent it from getting on the K9’s paws or your pet licking it from the crate and falling sick.
Understanding The Cleaning Needs Of Dog Crates
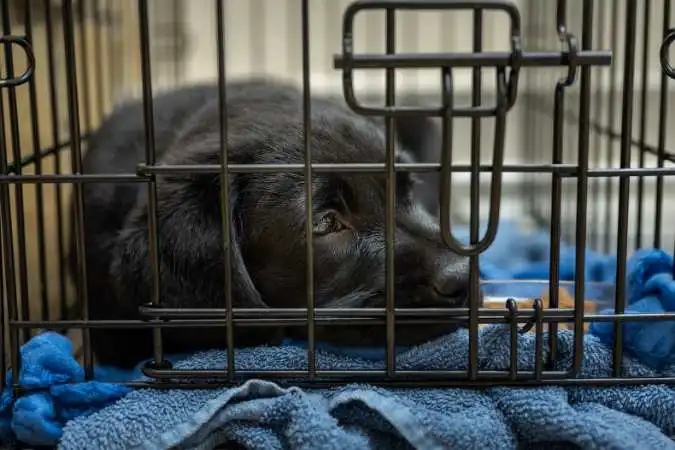
Dog crates can get dirty and smelly for various reasons, including accidents, spills, and general wear and tear.
The type of crate material (metal, plastic, or wire) can affect the cleaning process, so it’s essential to adapt your cleaning approach accordingly.
In addition, it is crucial to regularly clean and disinfect the crate to prevent bacteria buildup and unpleasant odors. Therefore, most of these cleaning tasks are done repetitively to deliver positive results in the long term.
How To Clean A Dog Crate

Cleaning the dog crate tray is an essential part of maintaining a clean and hygienic living space for your pet. Regular cleaning is necessary since the crate tray is prone to collecting dirt, debris, and pet waste.
Additionally, knowing how to safely remove the tray from the crate is crucial to helping you do a thorough job and avoid any accidents or damage.
In this section, we will provide step-by-step instructions on how to clean the dog crate tray and safely remove it for hassle-free cleaning.
Step #1: Prepare The Cleaning Area
Before cleaning the crate tray, find a suitable location where you can safely and conveniently clean it. Keep the dog in a separate room as you clean the crate.
Choose an outdoor area or a well-ventilated space with a hose or access to running water to hose down the crate and remove the dirt and hair caught inside the crate and other hard-to-reach areas.
Focus the blast from the hose on the crate to loosen or remove the waste stains from the crate’s external and internal surfaces.
If you do not have a hose, put warm water in a bucket and rinse the crate. If your home has no designated outdoor area, consider a room with a tiled floor, like a bathroom or kitchen. Alternatively, lay down some old newspapers or a plastic sheet to catch any drips or spills during cleaning.
If your dog’s crate is small enough, you can use your bathtub or sink as a cleaning area. The bathtub is particularly helpful if it has a hand-held shower head that you can use to spray water on the crate. Remember to clean and sanitize the sink and bathtub when you are done.
Step #2: Empty The Crate Tray (Remove Toys, Blankets, Pads, Mats, Beds, And Other Objects From The Crate) And Clean It
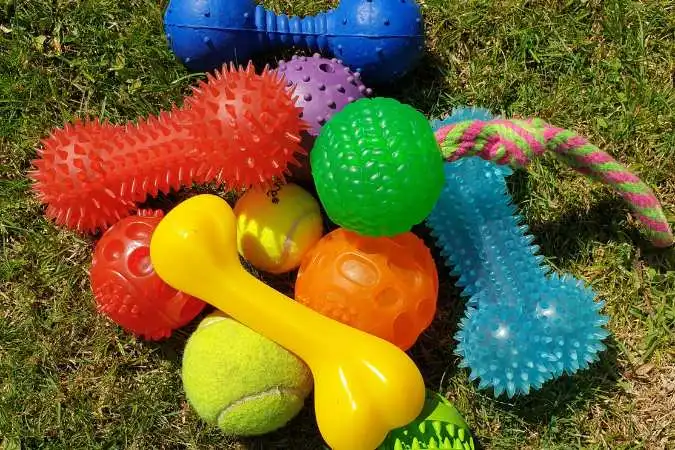
Begin by emptying the crate tray by removing the padding, tray, water and food bowls, bedding, blankets, toys, or other accessories you provide for the dog’s comfort or interactive play.
You will need to clean and disinfect these items separately from the crate. And since most of these items might be contaminated already, do this with gloved hands. More on this topic below.
Step #3: How To Remove The Tray From The Dog Crate Safely
Disassembling, which often involves removing the tray, is the best place to start cleaning the crate and ensuring it is clean in detail. The goal is to break down the work into manageable phases as much as possible.
Depending on the type of pooch crate you have, removing the tray and disassembling the crate may vary.
For Removable Trays:
- Open the crate door and locate the tray.
- Some trays may have handles or notches on the sides; gently lift and slide the tray out.
- If there are no handles, reach inside the crate and lift the tray from the bottom, using both hands for support.
For Non-removable Trays:
- Assess if the crate has a non-removable tray. If it lacks one, you may need to crawl or bend in a little to clean it properly, as cleaning the tray in place is the best option.
- Carefully wipe and sanitize the tray with a pet-friendly disinfectant without removing it from the crate. Remember to rinse off the disinfectant to safeguard your pup’s health.
Step #4: Clean Surfaces And Interiors
Cleaning the interior of the dog crates is especially important for crates with hard surfaces or cloth on the sides. Start by sweeping, dusting, and vacuuming the crate to remove the solid debris. A vacuum with a brush attachment helps to eliminate loose pet hair, dirt, and debris from all the crevices, corners, and other hard-to-reach areas.
It also removes solid clumps of feces and large clumps of fur that tend to gather on the edges of your dog’s crate, while keeping you away from germs and bacteria.
Expect to find a large accumulation of hair along the crate’s edges, mainly if your canine friend is a heavy shedder.
Spray the crate with your preferred pet stain remover, following the manufacturer’s instructions. For plastic and metal trays, you can use pet-friendly cleaning agents like vinegar or mild dish soap diluted with water.
For wire trays, you can use a stiff brush to remove debris or wipe it down with a damp microfiber cloth to remove the persistent stains. Ensure you focus the brush on all areas of the crate, indoors and outdoors.
Use a pet-friendly disinfectant to sanitize the outside and inside of the crate. Give the disinfectant time to kill the germs.
Rinse the crate to remove the soap and disinfectant and allow it to air-dry completely in a well-ventilated room to prevent mildewing or rusting.
Step #5: Dry The Crate
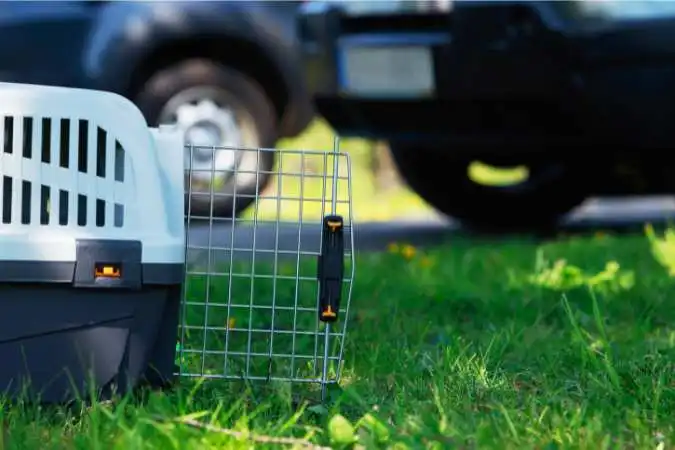
The best way is to air-dry the crate and only return it to the house when it is completely dry. This will prevent rust formation.
To speed up drying, dry the crate with paper towels or use a dry towel to absorb all the excess water on the crate.
Also, keep the crate in a well-ventilated room with open windows and running fans. Do not allow the pet inside the crate unless it dries completely.
Step #6: Dry And Replace The Tray
After cleaning, allow the crate tray to dry completely to prevent mildewing. Take it outside or in a well-ventilated room.
Once dry, place it back inside the crate, ensuring it fits securely and sits flat. Double-check that any latches or fasteners are properly secured to prevent the tray from sliding or shifting.
How To Clean Dog Crate Pads, Beds, and Blankets: Easy Steps for Fresh and Comfy Crate Bedding
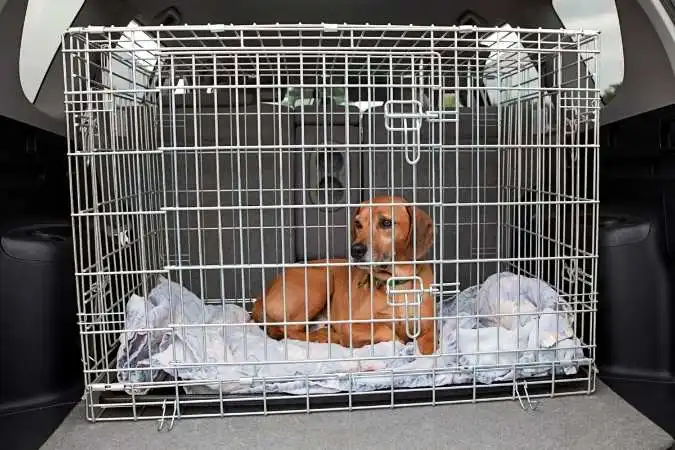
Cleaning your dog’s crate pad is essential for maintaining a hygienic and comfortable sleeping area for your furry friend. Over time, crate pads can accumulate dirt, pet hair, and odors, so regular cleaning is necessary to keep them fresh and cozy.
In this section, we’ll provide easy steps to effectively clean your dog’s crate pad, dog toys, and other soft furnishings and ensure they have a clean and inviting resting space.
Step #1: Check The Care Instructions
Before cleaning the crate pad, check the care instructions provided by the manufacturer on the manufacturer’s website, the crate’s care tag, or the crate’s packaging.
Different materials may have specific cleaning recommendations, and it’s essential to follow them to avoid damaging the pad.
Step #2: Shake Off Loose Debris
Start by taking the crate pad outside and giving it a good shake to remove any loose debris, such as pet hair or dirt.
Rinse a rag in soapy water, wring out the excess, and scrub out any stuck, solid bits that have encrusted on the tray. This step will make the rest of the cleaning process more effective and prevent excess debris from ending up in your washing machine.
Use paper towels to dab any fluids on the tray or padding. This may include fresh urine, diarrhea, or vomit stains. Absorb them and repeat until the wetness is gone. Dispose of the soiled paper towels appropriately.
You can disinfect the toys and non-porous accessories with Clorox wipes. Disinfecting toys will also remove grease and kill germs.
Step #3: Machine Wash (If Applicable)
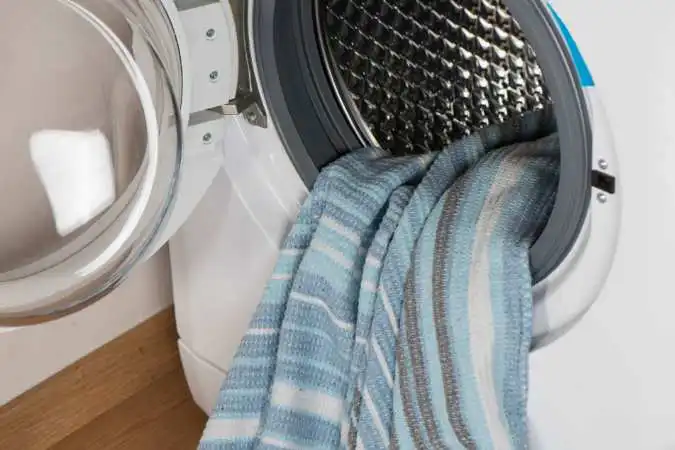
If the care instructions permit, machine washing the crate pad is one of the easiest and most effective ways to clean it. Use a gentle cycle with cold water and a mild detergent to prevent any potential damage to the pad’s fabric.
Avoid using fabric softeners or bleach, as they may irritate your dog’s skin or leave behind residues. If you must use bleach, ensure it is correctly diluted and rinsed completely from the pad.
Then, dry the pad completely and return it to the crate.
Step #4: Hand Wash (If Machine Washing Is Not Recommended)
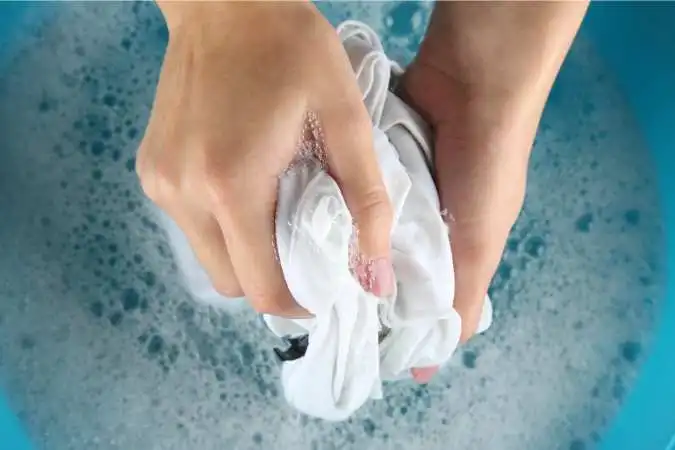
If the crate pad is not suitable for machine washing, you can hand wash it in a bathtub or large sink. Fill the tub with cold water and add a small amount of mild detergent.
Submerge the pad and gently agitate it to loosen dirt and stains. Let it soak for a while before rinsing thoroughly with clean water.
Step #5: Drying The Crate Pad
After washing, carefully wring out any excess water from the crate pad. Avoid twisting or wringing it too vigorously, as this may damage the padding or fabric. Hang the pad outside to air dry, or place it in a well-ventilated area.
Ensure it is fully dry before returning it to the dog crate to dry completely to prevent mildewing. If the wetness reaches the metal bars of your crate, it can also cause rust.
Step #6: Regular Maintenance
Establish a regular cleaning routine to keep your dog’s crate pad fresh and clean for longer. Washing the pad once every week or two using effective and pet-friendly cleaning agents (depending on your pet’s habits and shedding) will help prevent dirt and odors from building up.
In addition, regularly cleaning your pad or bedding will keep the crate clean and minimize foul odors.
General Tips On How To Disinfect A Dog Crate And Tackling Specific Cleaning Challenges
Different scenarios and crate types may present unique cleaning challenges. Let’s explore some specific situations and how to handle them:
#1. The Best Way To Clean A Used Dog Crate
If you’ve acquired a second-hand crate, it’s essential to clean and disinfect it thoroughly before use. However, disinfectants work best on pre-cleaned surfaces. Therefore, start by cleaning the crate with an effective, pet-friendly cleaning agent before applying the disinfectant.
Scrub all surfaces, and consider using a pet-safe disinfectant to ensure they’re free from any potential contaminants. Rinse to remove any excess disinfectant and allow the crate to air-dry completely.
It is important that you clean the used crate with cleaning products specially formulated for dog stains.
#2. Getting Rid Of Urine Smell In A Plastic Dog Crate
Plastic crates can absorb and retain urine odors, making it challenging to keep them smelling fresh. To combat the smell, mix a solution of equal parts water and vinegar and thoroughly wipe down the crate’s interior. Follow up with a rinse of clean water to remove any residual vinegar scent.
Alternatively, to get the urine smell out of a plastic dog crate, you can apply a suitable enzymatic cleaner like Nature’s Miracle to break down the odor-producing organic compounds in the urine and eliminate the smell.
The best way to clean a plastic crate is to start by disassembling it by unfastening the hinged closures, plastic nuts, or screws connecting the top parts of the crate. Once you have removed the top, you can clean and disinfect the crate with greater ease.
You Might Interested In Learning How To Get Rid Of Dog Urine In Carpets
#3. Best Way To Clean A Wire Dog Crate Frame
Most metal wire crates can be folded, taken apart, and washed outside. Some come with a removable floor tray and other components that can be easily disassembled and cleaned.
As such, the best way to clean a wire dog crate frame is to disassemble it, slide out the removable tray, and wash the different components separately. The goal is to break up the crate as much as possible before you start cleaning.
Spraying your cleaning solution on the wire mesh panel may be impractical due to the ventilation spaces between the wires. Although a bit time-consuming, you can dampen a rag or microfiber cloth with your cleaning solution and use it to wipe the wires and crate.
Once you have finished cleaning the crate, air dry it in a well-ventilated room and only allow your pooch inside when the crate is completely dry to prevent the formation of rust and mold.
#4. Washing A Soft-Sided Crate Frame
Usually, soft-sided crates consist of a frame of metal or plastic tubes and waterproof fabric. They are probably the most challenging to wash unless they are machine-washable. It is best to look for soft-sided crates with machine-washable fabric.
The best way to wash a soft-sided crate frame is to remove the frame and clean the crate fabric in a washing machine using a pet-friendly cleaning agent. Once clean, disinfected, and well-rinsed, allow it to air-dry completely; do not put it in a dryer.
#5. Tips For Cleaning Plastic Crates
They may not be as strong as metal wire crates, but plastic crates are affordable and easier to clean than both soft-sided and metal wire crates. Conversely, plastic holds onto pet odors more than metal and fabric.
Luckily, most plastic crates can be disassembled by unfastening the hinged closures, plastic nuts, or screws connecting the top parts of the crate.
As such, the best way to clean a dog crate made of plastic (or even resin) is to disassemble the crate first to gain access to every nook and cranny. Once you have removed the top, you can clean and disinfect the crate with greater ease.
How to Clean Rust From A Metal Dog Crate
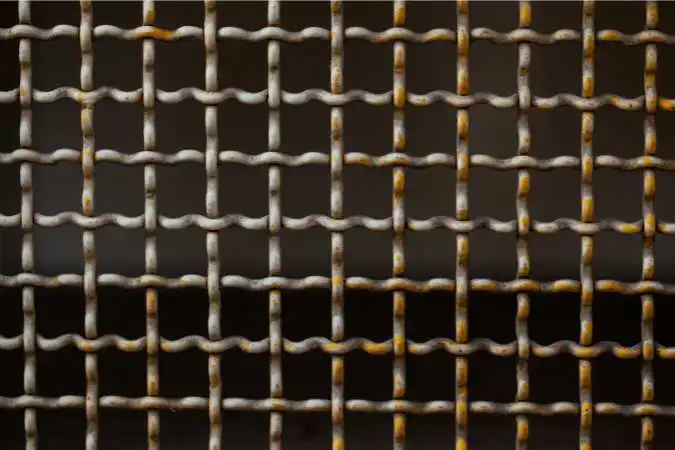
Over time, metal crates may develop rust, which can be unsightly and potentially harmful to your pet, particularly due to exposure to your dog’s urine, drool, liquid poop, and drinking water.
To remove rust safely, use a rust remover and a brush or cloth to scrub the affected areas gently. We recommend using WD-40 spray to remove the rust. Then rinse with warm water and scrub the surface gently with dish soap. Remember to disinfect the crate and rinse it thoroughly once you are done.
Preventing Unpleasant Odors And Stains
Does your dog crate smell like pee? To keep your puppy’s crate smelling fresh and clean for an extended period of time, incorporate these preventive measures into your routine:
Regular Maintenance
Establish a cleaning routine, such as deep cleaning the crate once a week, to prevent dirt and odors from building up. Also, consider spot-cleaning the crate regularly to keep it clean between routine deep cleanings.
It is best to disinfect the surfaces often to remove bacteria and control bad odors from the crate.
Use Washable Bedding
Consider using washable bedding or crate liners that can be easily cleaned to keep the crate fresh and comfortable for your pet.
Avoiding Overcrating Your Dog
Overcrating your pet regularly can be stressful and overpower his instincts and training to avoid peeing or pooping in the crate. This can be caused by separation anxiety. Consider buying a Thundershirt classic dog anxiety jacket to keep your dog calm.
Usually, a two-month-old puppy cannot hold itself for longer than three hours, while an adult dog should remain in the crate for maximum of 6 to 8 hours.
Learn How To Clean Accidental Dog Urine On Mattresses
Easy-To-Clean Dog Crate
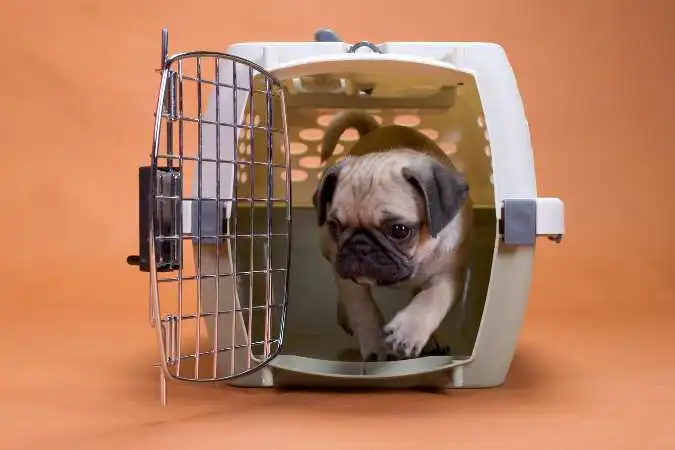
Here are examples of easy-to-clean crates you can consider buying for your dog
#1. ProSelect Easy Dog Crates. It comes in various sizes and colors. It also has a removable tray for easy cleaning.
#2. BestPet Dog Crate Dog Cage. It is leak proof and foldable. It also has a removable tray for easy cleaning. It does not require tools to assemble or disassemble.
#3. AGESISI 42-inch dog crate. It has a removable tray and is easy to clean. It is also easy to assemble, only taking 15 minutes of less.
Conclusion: The Best Way To Clean A Dog Crate
By following these best practices, you can ensure that your dog’s crate remains a safe and inviting space for them to rest and relax. Remember, a clean crate is not only beneficial for your pet’s health but also contributes to a more enjoyable living environment for everyone in your home.
So, make cleaning your dog’s crate a regular part of your pet care routine, and both you and your furry friend will reap the rewards of a fresh and hygienic space.
FAQs
Q: How often should I clean my dog’s crate?
A: Cleaning your puppy’s crate once a week is generally sufficient for regular maintenance. However, if your dog has accidents or spills more frequently, you may need to clean it more often.
Q: Can I use bleach to clean my dog’s crate?
A: While bleach is effective at disinfecting, it’s not recommended for cleaning pet crates. The strong chemical odor can be harmful to dogs, and residual bleach may cause health issues. Stick to pet-safe cleaners like vinegar or enzymatic solutions.
Q: How can I remove tough stains from my dog’s crate?
A: For tough stains, use an enzymatic cleaner specifically designed to break down organic matter. Follow the instructions on the cleaner’s label and thoroughly rinse the crate after cleaning.
Q: My dog’s crate smells like urine. How can I get rid of the odor?
A: To eliminate urine odor from a plastic crate, mix equal parts water and vinegar. Wipe down the interior of the crate with this solution, and then rinse it with clean water to remove any residual scent.
Q: Can I use a pressure washer to clean a metal dog crate?
A: Using a pressure washer on a metal dog crate is not recommended, as it can damage the crate, which would potentially harm your pet. Stick to gentle cleaning methods, like scrubbing with a rust remover, for metal crates.
